Having taken up the guitar again, some thirty odd years after I put my last one down, I got my hands on a relatively cheap ESP Like this one from GAK in Brighton, which sounds the mutt’s nuts. I also needed a project to keep me busy in my spare time, as I’ve been unable to get out fishing regularly due to sever back problems (another story). I actually started this back towards the end of October but kept forgetting to update here on the progress. So this first installment includes everything from unpacking through, priming and painting.
I decided to build my own electric guitar, after having spoken to a work colleague who had done the same for a project for the students in his DT class.
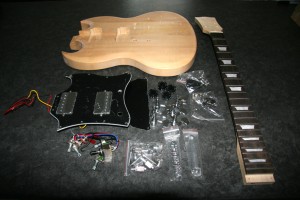
After a bit of searching, I opted for an SG style flat top kit from Thomann’s which had all the components needed for a complete build. Apart from the rosewood fret board, the rest of the kit is blank pale natural bass wood.
I was originally going to go for a plain un-coloured wood finish, with maybe a dark lacquer but having seen that there was no particularly attractive grain pattern, I decided to go for paint. Anyway, here’s a step by step of how we got on.
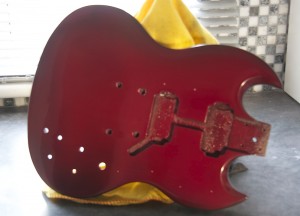
As it is out of the box on unpacking:
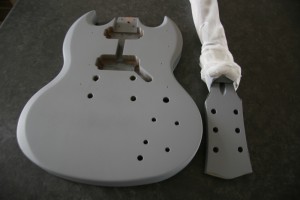
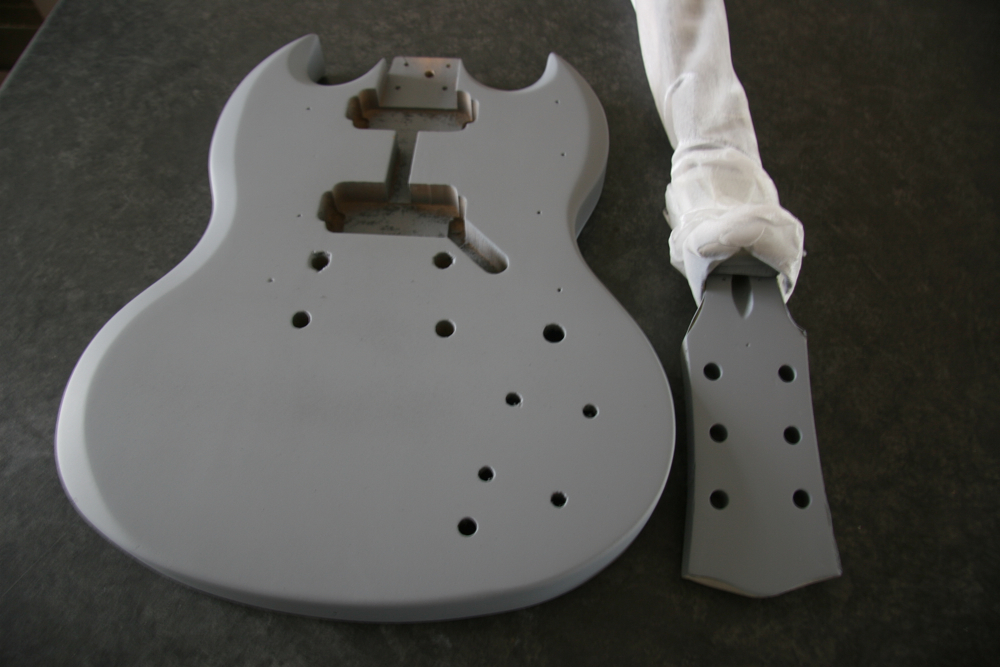
After doing a test fit to make sure everything was there and all holes etc. lined up, I Prepared the surface with a light rub down with medium grade wet and dry. A couple of coats of primer were laid down all over, with a light rubbing in between. Primed surface then prepped with a finer wet and dry ready for first colour.
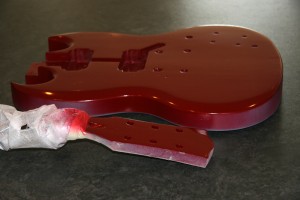
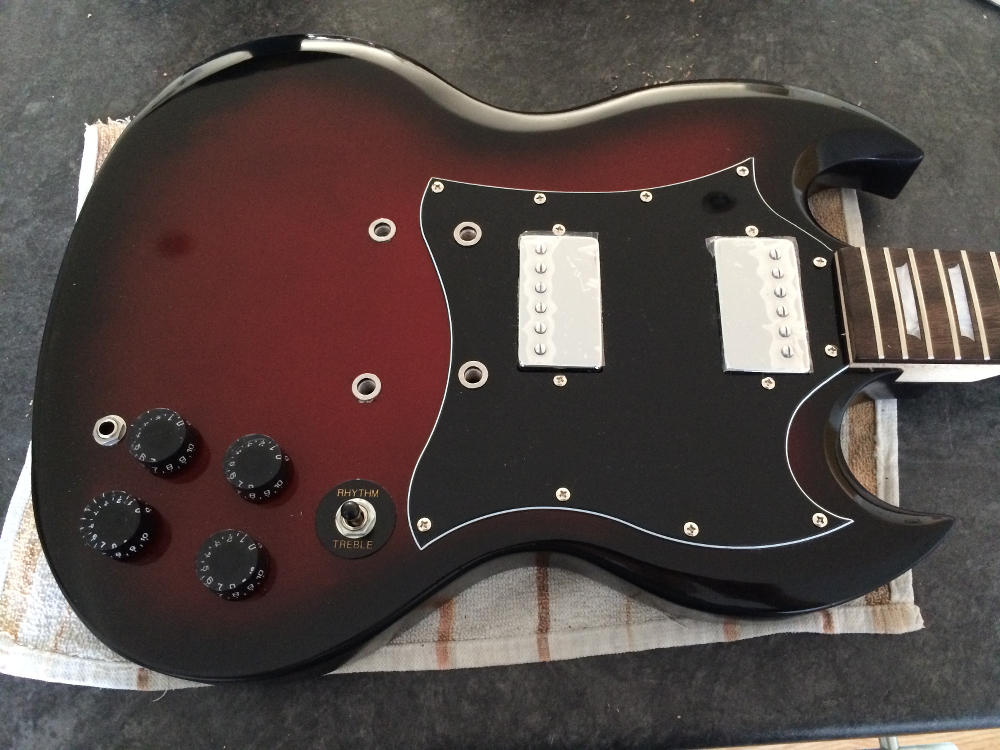
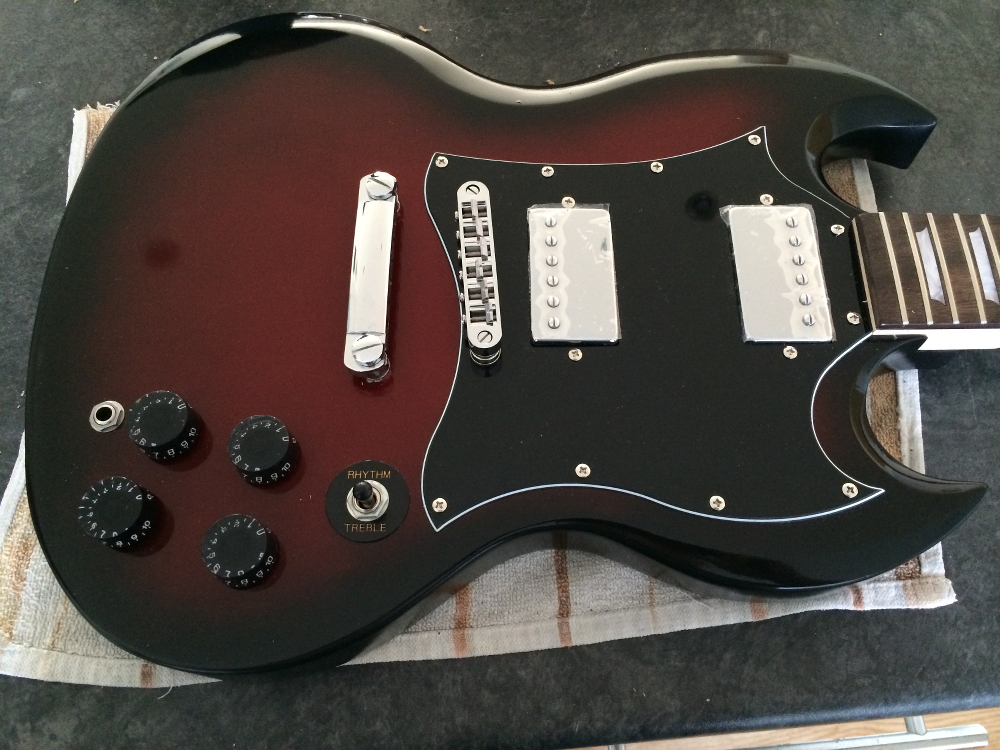
First colour – deep cherry red pearlescent applied to body front and headstock front:
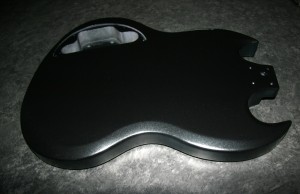
Second colour – black metal flake applied to back and edges of body:
In total, three coats of the black were applied to the back of the body with a fine sanding in between. A further two coats of the red were applied to the front of the body and headstock, with sanding in between. I’d made sure that there was plenty of overspray onto the black of the body edges.
Everything was then left in a warm environment for a couple of weeks to ensure that the paint had fully hardened. I then went over the body front with a very fine cutting compound taking particular time towards and over the edges to give a very faint worn and aged appearance in those areas.

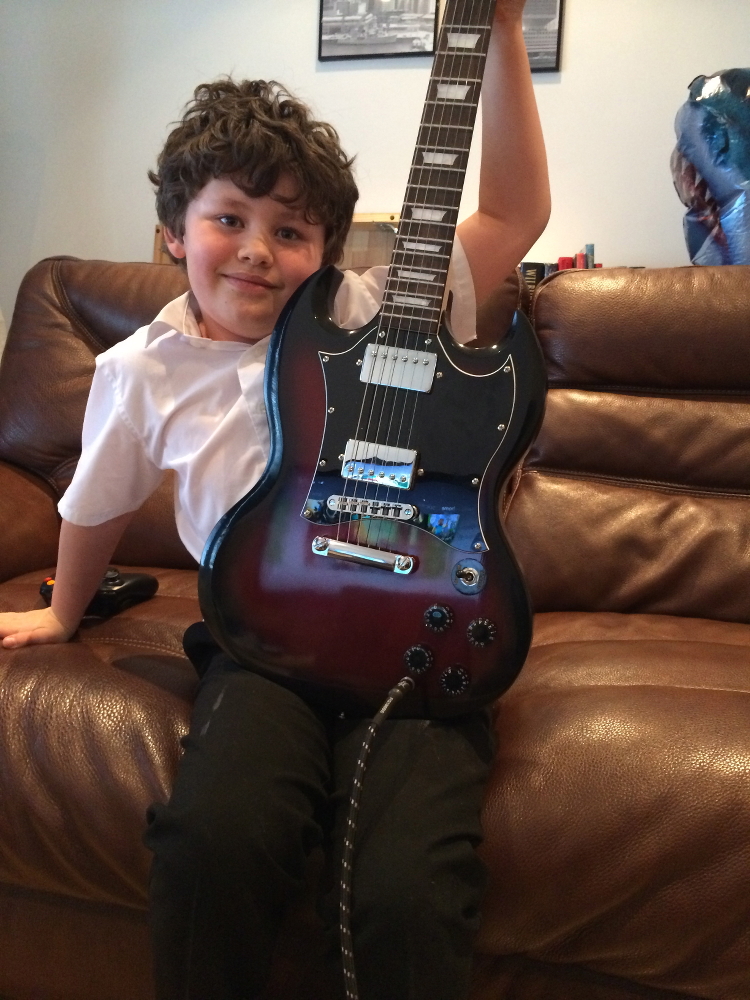
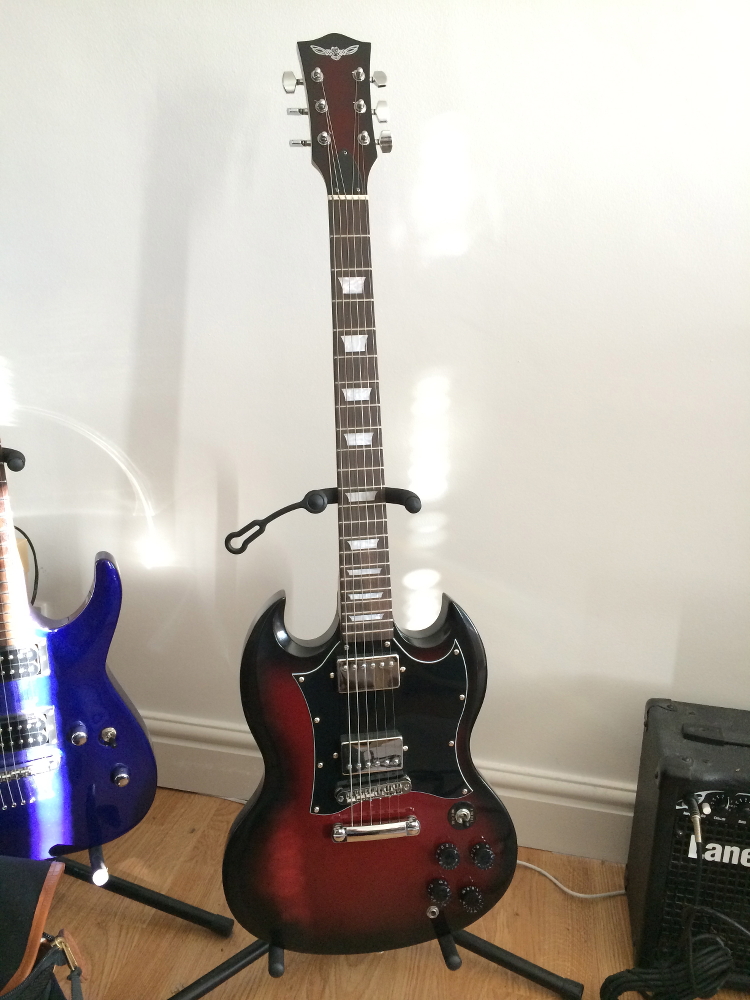
I know that this would not be to everyone’s taste but I was quite pleased with the final result. The following picture doesn’t really show up the full effect, you’ll just have to trust me that it looks better in real life! The rear of the body and the headstock were also given the cutting compound treatment but without the blending.
Once happy that the paint was all nicely flatted, I set about with the lacquer to give a lovely lustrous deep shine. All has now been left for a while to ensure lacquer is completely dry, before buffing with a decent quality polish and onto final assembly.
The final chapters in the build will be updated as soon as I start work on the final assembly and set up.


